"A happy family is but an earlier heaven." - George Bernard Shaw

So I’m one of those crazy people that love to give one homemade gift every year for Christmas. I am not the neatest crafter, so I always buy a few extra pieces to ensure that I can practice. I am still hoping for the 'out of the ballpark on the first swing'… but so far I still need that extra piece. So because I had a couple of glass plates from Dollar Tree left over from my daughter’s cake stand, I racked my brain on what I could do with them. And then it hit me…Christmas craft. Now…how do you take a dollar glass plate and turn it into something my kids would not immediately “accidentally” drop. Just kidding. They’re great kids and it would somehow get put up in their closet. But I have spent the last year trying to clear out my closets and don’t want to add to theirs…so I need something they would display.
And that’s when I came up with a picture plate that stated their name and the current year. After making homemade crafts for the last few years, I’ve learned a few things. You can’t use Mod Podge successfully with paper unless you’re very talented. My first attempts ended in ink running and made my kids’ faces look like a Picasso masterpiece. So I needed better paper that would hold up and not blur. The second thing I learned - you must be patient with glass etching. The longer I waited, the nicer and cleaner the etching appeared. Finally , use a stencil that adheres to the glass. If you choose one without adhesive and try to tape it on...trust me, it doesn’t work. If you think ink running on pictures looks like a Picasso, imaging what glass etch that runs under your stencil can do. See...extra plates are required.
So start with the glass etching:

You can find all kinds of glass etch chemistries out there. We used this brand to engrave several of Neil’s whiskey tumblers for a birthday gift, so I knew it would work well. Because I wanted their names on the top of the plate and the year centered on the bottom of the plate, I chose stenciling that would look beautiful but still fit. Centering the lettering and date on the plate; paint an excessive amount of glass etch over the stencil.

I waited fifteen minutes before rinsing off the etch. The instructions called for 5-7 minutes but I found that didn’t produce a clean etch.
Rinse the plates and stencils completely in warm water and allow to dry completely.
Once dry, we’re ready to move onto the picture.

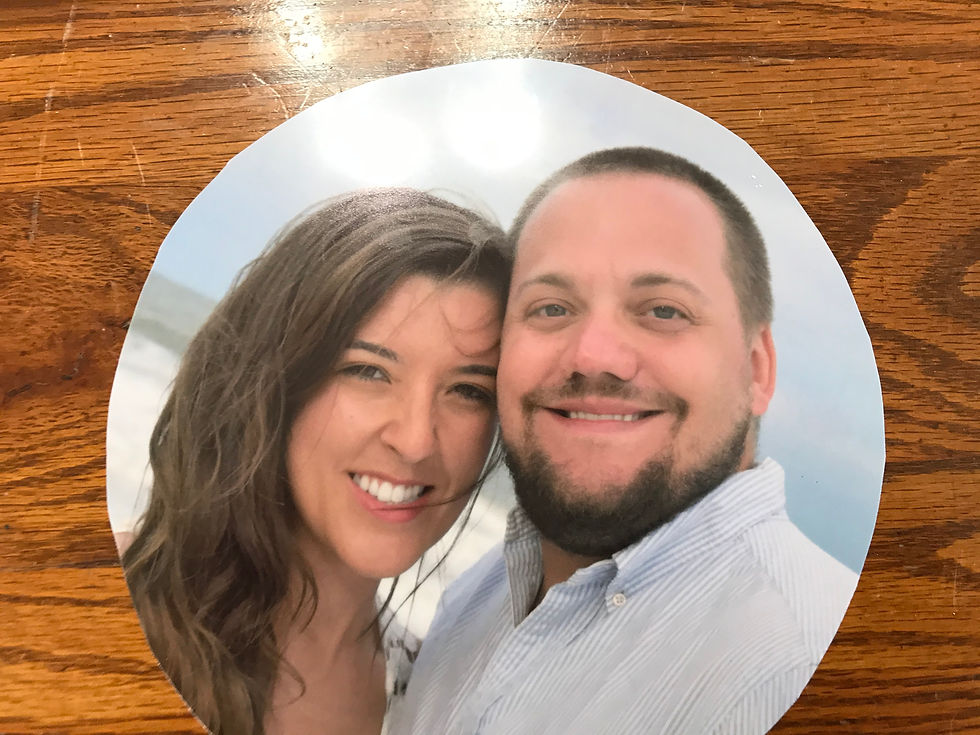
Choose a good photography film to print your desired picture. Making a template from the center of the glass plate, cut out your desired photo. Isn’t my daughter beautiful? Sorry, where was I?
Oh yes, time to Mod Podge. I love Mod Podge. It really does dry clearly and coats evenly.

I coated a nice layer of Mod Podge on the back of the photo and gently laid it in the center of the plate. Taking a soft rag (holey socks are a wonderful crafter’s tool) gently push the photo from the center to the outer edges, smoothing the glue out as you work. You are trying to get an even surface without bubbles. Once you have a smooth photo, take a wet towel and carefully remove any excess glue from the edges. Here is why I like Mod Podge again...it dries clear. But just to be safe, remove any excess. Allow the plate to dry completely and viola...you're done.
It was a fun idea and actually worked well. It might just go on a shelf and not in their closet.
Comments